Upcycle Dining Room Table and Chairs
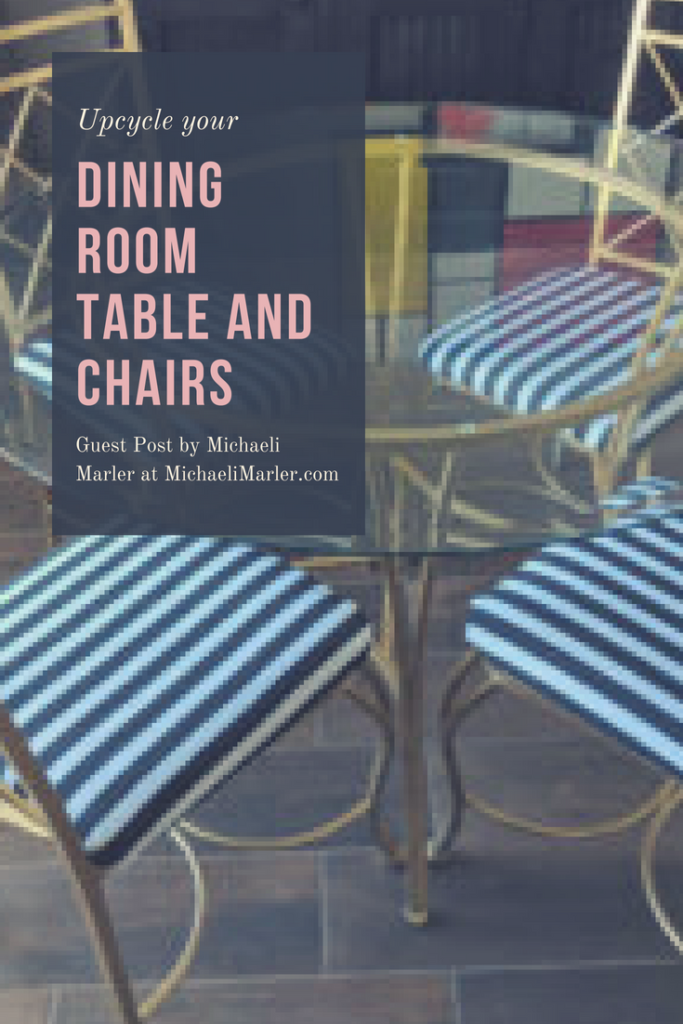
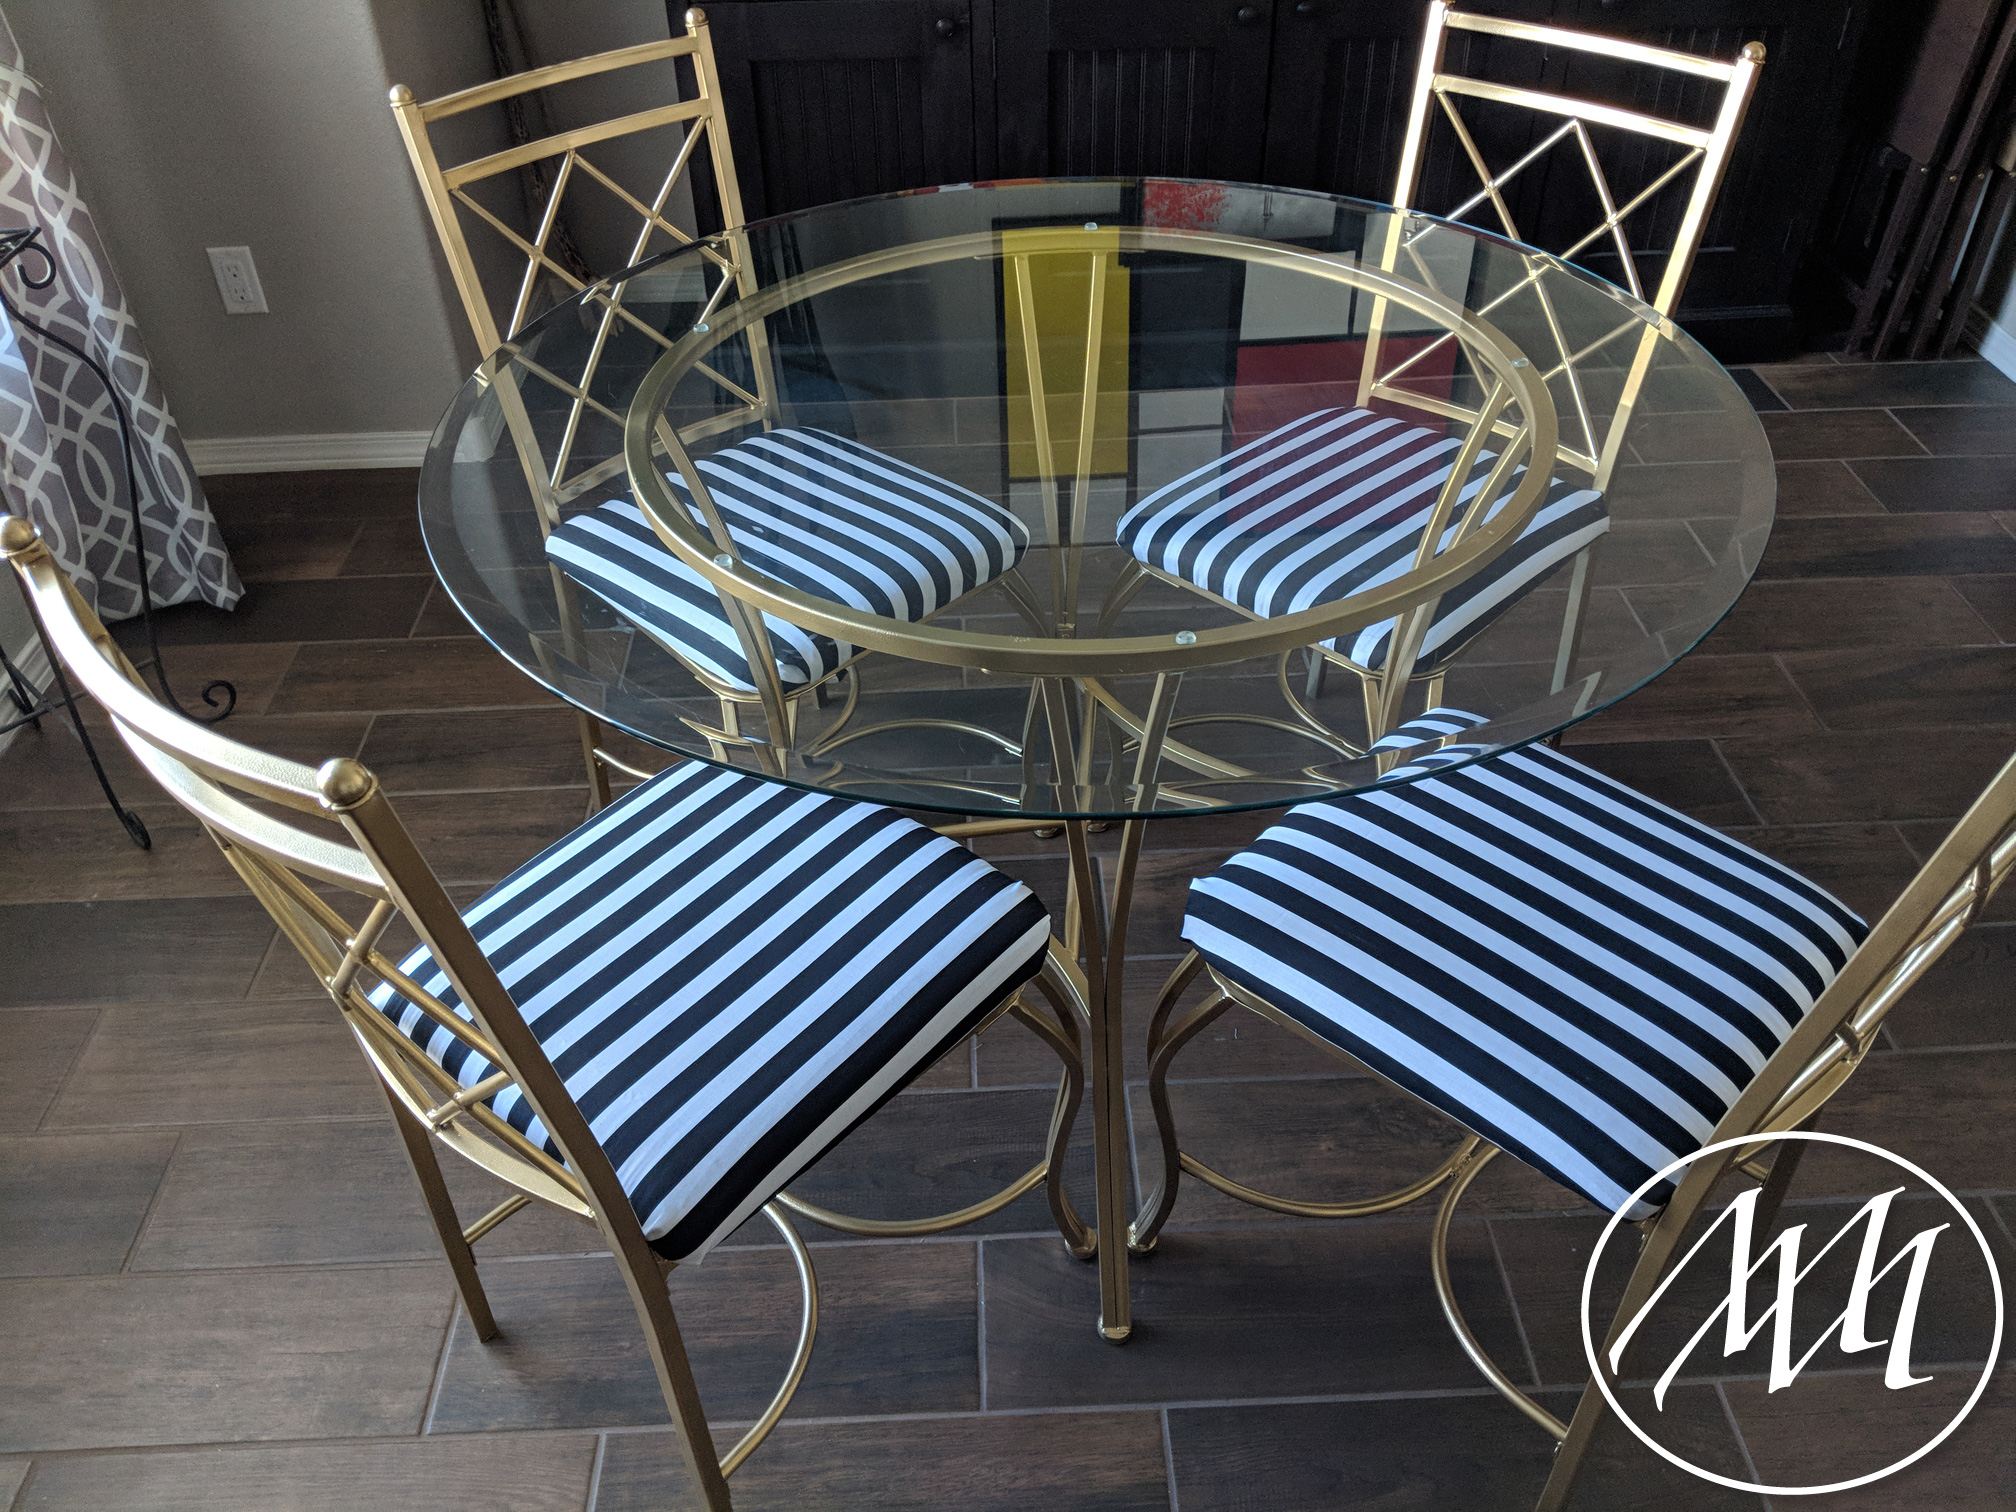
Looking to update your tired dining room set on a budget? From outdated to chic and fresh –Michaeli Marler from MichaeliMarler.com shares a dining room table and chair DIY that you can complete today— all under $25!
This is a guest post.
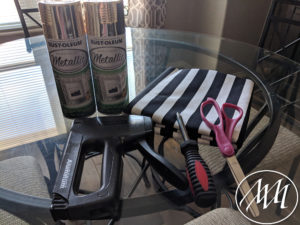
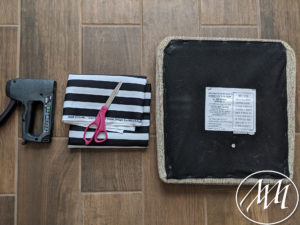
Materials:
- Spray paint: 3 cans of Rustoleum Metallic in Gold
- 2 Yards of Fabric
- Staple Gun with Staples
- Scissors
- Screwdriver
- Drop Cloth or Old Sheet
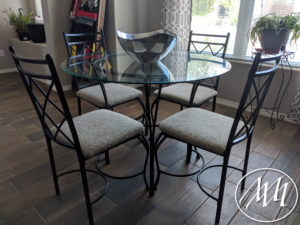
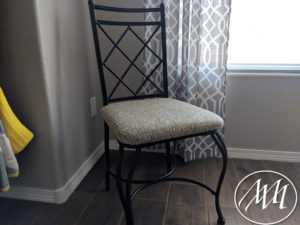
Step 1:
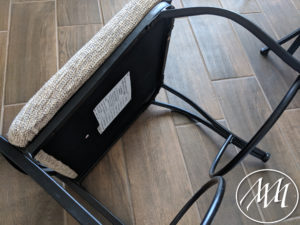
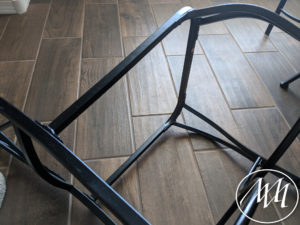
Unscrew each chair pad from the chairs and set to the side with the screws. Remove the glass top from the table and set in a safe place out of the way.
Step 2:
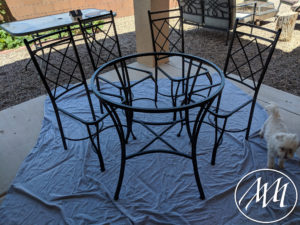
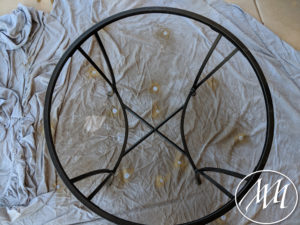
In a well ventilated area, lay your sheet or drop cloth down to protect the surface you’ll be painting on. I chose to use my patio as a work area and it’s well ventilated since it’s outside!
Step 3:
In even swipes, spray paint your chairs and table in your gold paint. Once the first coat dries, flip the table and chairs upside down so you can make sure you’re getting all of the areas covered. Once that coat dries, flip back over and do any last minute touch ups required. Allow your paint to dry fully before handling.
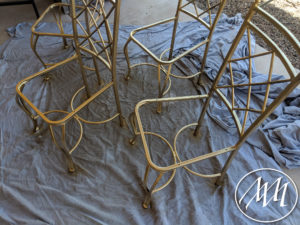
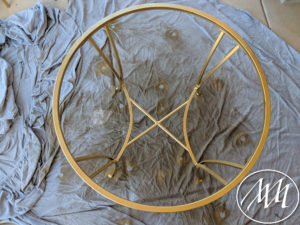
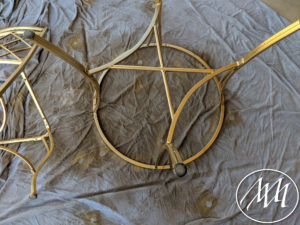
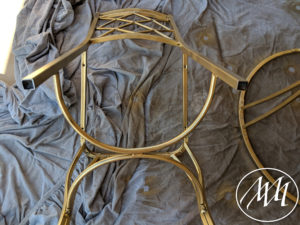
Step 4: Chairs
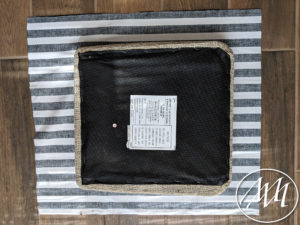
Lay out your fabric wrong side up on a large flat surface. Place your chair pad on top of the fabric with the bottom facing up. Cut the fabric around the chair pad leaving several inches on all sides so you can easily wrap the pad.
Step 5:
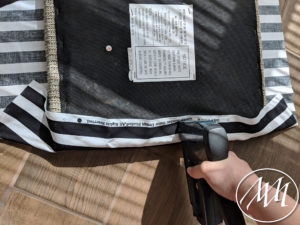
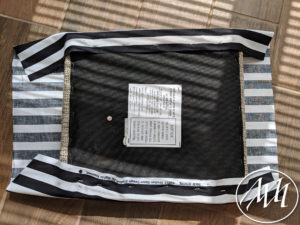
Pull the side of the fabric tight around the side of the pad and use your staple gun to secure in place every two inches or so to secure. Repeat on the other side.
Step 6:
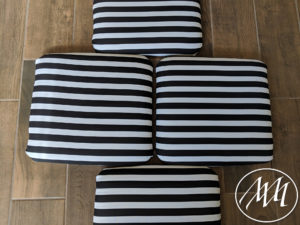
Wrap the edges like you would wrap a present and secure in place as you go to make the edges tight and neat around the pad. Cut any excess fabric off if necessary. Repeat to all four chairs pads.
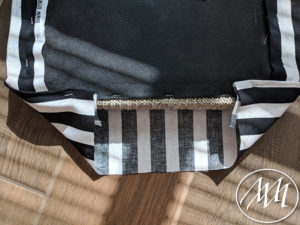
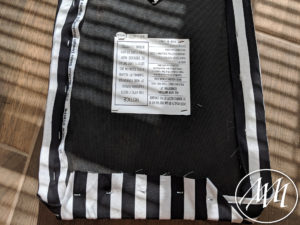
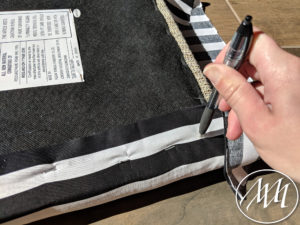
NOTE: Be sure to mark your screw holes on your fabric with a pen as you go and make a little hole so when you go to attach them back, you’ll be able to easily find the holes! 🙂
Step 7:
Once your tables and chairs are dried fully, you can bring them back inside (if you went outside to paint) or back to your dining area.
Step 8:
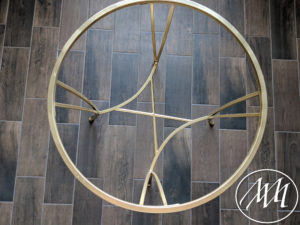
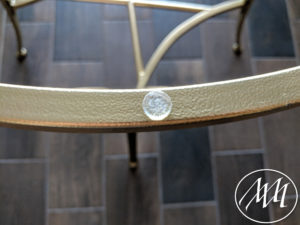
Screw the chair pads back to the chairs. Replace the little silicon cushion pads if you are working with a glass table like me. Place your glass top back on the table base.
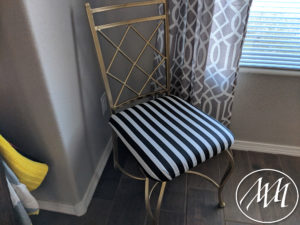
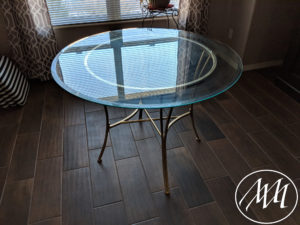
Place the chairs around the table and enjoy your newly refreshed table set!
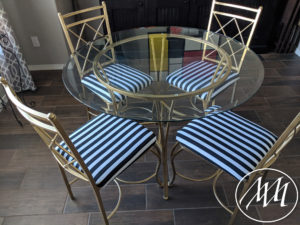
For more before and after pictures of this project and to see her other DIY projects and recipes, please head over to MichaeliMarler.com or subscribe to her on Instagram: @MichaelisCrafts
Meet the Author:

Michaeli is a craft tutorial blogger at MichaeliMarler.com. She likes to do quick and fun projects to show how easy it can be to add DIY to your busy life! Be sure to check out her other great projects and tutorials on her website and social media!
More Inspiration from HD under $25 Collection


Pingback: Before and After Photos: Dining Room Table and Chair Makeover | Michaeli Marler | Craft Tutorials
I love this project, it turned out so cute!!